딥러닝 개요 - 실습으로 느껴보기
실습에 필요한 패키지를 설치합니다.
pip install numpy
pip install tensorflow
pip install matplotlib
pip install pillow
손글씨 숫자 인식
손글씨 숫자 인식하는 모델을 구현합니다.
1. 손글씨 숫자 데이터 불러오기
MNIST 데이터셋은 0부터 9까지의 손글씨 숫자 이미지로 구성된 데이터셋입니다. 각 이미지는 28x28 크기의 흑백 이미지로 구성되어 있습니다. 총 70,000개의 이미지가 포함되어 있으며, 그 중 60,000개는 학습(training) 데이터로, 10,000개는 테스트(test) 데이터로 사용됩니다. from tensorflow.keras.datasets import mnist를 통해 MNIST 데이터셋을 불러올 수 있습니다.
# pip install matplotlib

import numpy as np
import matplotlib.pyplot as plt
from tensorflow.keras.datasets import mnist

# 데이터 로드
(x_train, y_train), (x_test, y_test) = mnist.load_data()

# 이미지를 무작위로 선택
random_index = np.random.randint(0, x_train.shape[0])
# random_index = 0 # 0번째 이미지 선택
random_image = x_train[random_index]
random_label = y_train[random_index]

# 이미지 시각화
plt.figure(figsize=(4, 4))  # 이미지 크기 설정
plt.imshow(random_image, cmap='gray')  # 흑백 이미지로 표시
plt.title(f'Label: {random_label}')  # 이미지 위에 레이블 표시
plt.colorbar()  # 색상 바 추가
plt.axis('off')  # 축 끄기
plt.show()
2. 모델 구현
import keras
import numpy as np
import tensorflow as tf
from tensorflow.keras.datasets import mnist
from tensorflow.keras.models import Sequential
from tensorflow.keras.layers import Dense, Flatten
from tensorflow.keras.utils import to_categorical

# 데이터 로드 및 전처리
(x_train, y_train), (x_test, y_test) = mnist.load_data()
x_train = x_train / 255.0
x_test = x_test / 255.0
y_train = to_categorical(y_train, 10)
y_test = to_categorical(y_test, 10)

# 모델 구성
model = Sequential([
    Flatten(input_shape=(28, 28)),
    Dense(128, activation='relu'),
    Dense(10, activation='softmax')
])

# 모델 컴파일
model.compile(optimizer='adam', loss='categorical_crossentropy', metrics=['accuracy'])

# 모델 학습
model.fit(x_train, y_train, epochs=10)

# 모델 평가
test_loss, test_acc = model.evaluate(x_test, y_test)
print(f"Test accuracy: {test_acc:.4f}")

# 모델 저장
# model.save('mnist_model.h5')
keras.saving.save_model(model, 'mnist_model.keras')
print("Model saved to mnist_model.keras")
3. 구현된 모델을 사용하여 손글씨 숫자 인식
import numpy as np
import matplotlib.pyplot as plt
import tensorflow as tf
from tensorflow.keras.models import load_model
from tensorflow.keras.datasets import mnist

# 데이터 로드
(x_train, y_train), (x_test, y_test) = mnist.load_data()
x_test = x_test / 255.0

# 저장된 모델 불러오기
model = load_model('mnist_model.keras')
print("Model loaded from disk.")

# 테스트 데이터셋에서 랜덤 이미지 선택
random_index = np.random.randint(0, x_test.shape[0])
random_test_image = x_test[random_index]
random_test_label = y_test[random_index]

# 이미지 예측
random_test_image_expanded = np.expand_dims(random_test_image, axis=0)  # 모델 입력을 위해 차원 확장
prediction = model.predict(random_test_image_expanded)
predicted_label = np.argmax(prediction)

# 예측 결과 시각화
plt.imshow(random_test_image, cmap='gray')
plt.title(f'Predicted: {predicted_label}, Actual: {random_test_label}')
plt.axis('off')
plt.show()
그림판을 이용 해서 숫자 이미지 그리기

그림판을 이용 하여 숫자를 직접 그리고 위의 모델로 인식을 하겠습니다. 학습한 이미지와 비슷한 형태를 그리기 위해 굵고 정가운데 화면에 꽉 차게 그리면 인식률이 높아집니다.
- 그림판을 실행합니다.
- 브러시의 크기를 굵게 합니다.
- 원하는 숫자를 그립니다.
- 숫자를 선택 하여 자릅니다.(선택 -> 자르기)
- 정사각형으로 숫자가 꽉 차게 자릅니다.
- 다른 이름으로 저장합니다. -> ‘test.png’
- 탐색기 실행하여 파일을 확인합니다.
test.png파일을 소스 코드가 있는 폴더에 복사합니다.
import numpy as np
import matplotlib.pyplot as plt
import tensorflow as tf
from tensorflow.keras.models import load_model
from PIL import Image

# 저장된 모델 불러오기
model = load_model('mnist_model.keras')
print("Model loaded from disk.")

# 이미지 파일 로드
image_path = 'test.png'
image = Image.open(image_path).convert('L')  # 'L' 모드로 변환하여 그레이스케일 이미지로 만듦
image = image.resize((28, 28), Image.Resampling.LANCZOS)  # 이미지를 28x28로 리사이즈, LANCZOS 필터 사용

# 이미지 데이터 전처리
image_array = np.array(image)
image_array = image_array / 255.0  # 픽셀 값을 0~1 사이로 정규화
image_array = 1 - image_array  # MNIST 데이터는 배경이 검고 글자가 흰색이므로 반전시킴
image_array = image_array.reshape(1, 28, 28)  # 모델 입력을 위해 차원 확장

# 이미지 예측
prediction = model.predict(image_array)
predicted_label = np.argmax(prediction)

# 예측 결과 시각화
plt.imshow(image_array.reshape(28, 28), cmap='gray')  # 이미지 배열을 28x28로 변형하여 표시
plt.title(f'Predicted Label: {predicted_label}')
plt.axis('off')
plt.show()
CNN 이란?
CNN(Convolutional Neural Network, 합성곱 신경망)은 딥러닝의 한 종류로, 주로 이미지나 비디오 같은 시각적 데이터를 처리하고 분석하는 데 사용되는 인공 신경망입니다. CNN은 이미지의 특징을 추출하기 위해 합성곱(convolution)과 풀링(pooling) 연산을 사용하며, 이를 통해 이미지의 특징을 추출하고 분류하는 데 효과적입니다.
사진에 필터를 적용하면 사진의 분위기나 색감이 변합니다. CNN에서의 필터도 비슷한 역할을 합니다. 다만 사진의 분위기를 바꾸는 것이 아니라 사진에서 특정 패턴이나 특징을 찾아내는 역할을 합니다.
고양이 찾는 예를 들겠습니다. CNN은 많은 필터를 가지고 있습니다. 어떤 필터는 고양이의 눈을 찾는 데 특화되어 있고, 어떤 필터는 고양이의 귀를 찾는 데 특화되어 있어요. 각 필터가 찾아낸 특징들을 모아서 최종적으로 고양이 사진이라는 결론을 내립니다.
CNN 시각화
https://transcranial.github.io/keras-js/#/mnist-cnn
1. CNN 모델 구현
import numpy as np
import keras
import tensorflow as tf
from tensorflow.keras.models import Sequential
from tensorflow.keras.layers import Dense, Conv2D, Flatten, MaxPooling2D, Dropout
from tensorflow.keras.datasets import mnist
from tensorflow.keras.utils import to_categorical

# 데이터 로드 및 전처리
(x_train, y_train), (x_test, y_test) = mnist.load_data()

# 입력 데이터 차원 확장 (CNN에 적합한 형태로)
x_train = np.expand_dims(x_train, -1) / 255.0
x_test = np.expand_dims(x_test, -1) / 255.0

# 레이블 원-핫 인코딩
y_train = to_categorical(y_train, 10)
y_test = to_categorical(y_test, 10)

# CNN 모델 구성
model = Sequential([
    Conv2D(32, kernel_size=(3, 3), activation='relu', input_shape=(28, 28, 1)),
    MaxPooling2D(pool_size=(2, 2)),
    Conv2D(64, (3, 3), activation='relu'),
    MaxPooling2D(pool_size=(2, 2)),
    Flatten(),
    Dense(128, activation='relu'),
    Dropout(0.5),
    Dense(10, activation='softmax')
])

# 모델 컴파일
model.compile(optimizer='adam', loss='categorical_crossentropy', metrics=['accuracy'])

# 모델 학습
model.fit(x_train, y_train, epochs=10, batch_size=128, validation_split=0.1)

# 모델 저장
keras.saving.save_model(model, 'mnist_cnn_model.keras')
print("Model saved to mnist_cnn_model.keras")
2. 구현된 CNN 모델을 사용하여 손글씨 숫자 인식
손글씨 숫자 인식1->3. 구현된 모델을 사용하여 손글씨 숫자 인식-> 코드를 실행합니다.(모델명 변경 필요)model = load_model('mnist_cnn_model.keras')
3. CNN 모델을 사용하여 그림판으로 그린 숫자 이미지 인식
그림판을 이용 해서 숫자 이미지 그리기의 코드를 실행합니다.(모델명 변경 필요)model = load_model('mnist_cnn_model.keras')
객체인식
객체인식(Object Detection)은 이미지나 비디오에서 하나 이상의 객체를 식별하고, 그 위치를 정확히 표시하는 컴퓨터 비전 기술입니다.
YOLO
YOLO (You Only Look Once)는 이미지 내에서 객체를 인식하는 딥러닝 알고리즘입니다. YOLO는 이름에서 알 수 있듯이 이미지를 단 한 번만 보고 (즉, 단일 신경망) 여러 객체의 종류와 위치를 신속하게 예측할 수 있습니다. 이 알고리즘은 속도와 정확도의 균형을 잘 맞추어 실시간 객체 인식 시스템에서 널리 사용되고 있습니다.
공식 링크
문서: https://docs.ultralytics.com/ko
Quick Start: https://docs.ultralytics.com/quickstart/
Github: https://github.com/ultralytics/ultralytics
설치
Python은 3.8, PyTorch는 1.8 이상 설치 되어 있어야 합니다.
pip install ultralytics
pip install pillow
pip install matplotlib
예측 - predict
https://docs.ultralytics.com/usage/python/
COCO 데이터 셋으로 사전 학습 된 모델로 bus.jpg의 객체를 인식합니다.
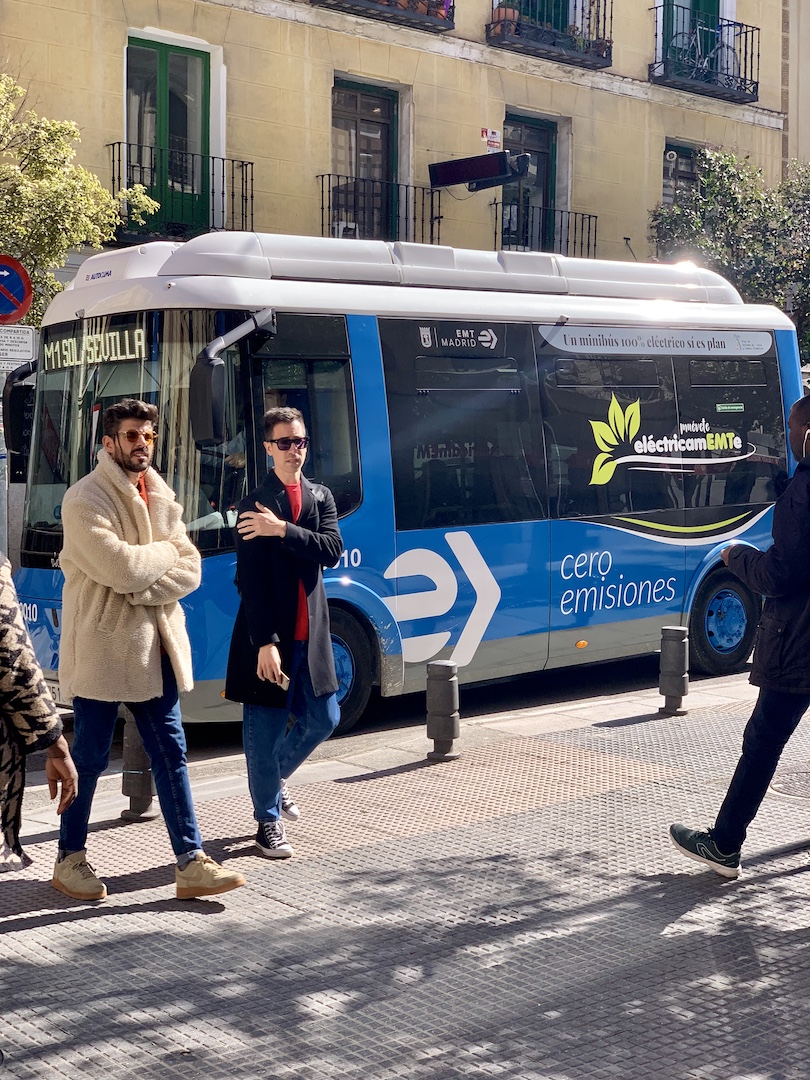
bus.jpg 이미지를 소스 코드가 있는 곳에 다운로드 받습니다.
# pip install pillow

from ultralytics import YOLO
from PIL import Image
import matplotlib.pyplot as plt

# COCO 데이터 셋으로 사전 학습 된 모델이 다운로드 되고 로드 됨
model = YOLO("yolov8n.pt")

# 대상 이미지를 로드
im1 = Image.open("bus.jpg")
# 예측 실행 - 결과는 이미지 파일로 저장됨
results = model.predict(source=im1, save=True)  # save plotted images

# 결과 출력 - List 형태
print(results)

# runs\\detect 하위의 predict 디렉토리를 모두 지울 것
# 2번째 실행 하면 predict2, 3번째 실행하면 predict3으로 저장됨
image = Image.open('runs/detect/predict/bus.jpg')

plt.figure(figsize=(4, 4))  # 이미지 크기 설정
plt.imshow(image)
plt.colorbar()  # 색상 바 추가
plt.axis('off')  # 축 끄기
plt.show()
훈련 - train
https://docs.ultralytics.com/usage/python/
from ultralytics import YOLO

# Load a pretrained YOLO model (recommended for training)
# COCO 데이터 셋으로 사전 학습 된 모델이 다운로드 되고 로드 됨
model = YOLO('yolov8n.pt')

# Train the model using the 'coco8.yaml' dataset for 3 epochs
# 훈련 데이터셋을 사용하여 모델을 3회 학습
results = model.train(data='coco8.yaml', epochs=3)

print(results)
yolov8n.pt- COCO 데이터 셋으로 사전 학습 된 모델이 다운로드 됨dataset/coco8/images- 훈련용/평가용 이미지 파일(train, val)dataset/coco8/labels- 훈련용/평가용 레이블 파일(train, val)runs/detect/train/weight/best.pt- 가장 좋은 가중치 파일runs/detect/train/- 훈련 결과 이미지 및 csv 파일
평가
앞서 훈련한 모델을 평가합니다.
from ultralytics import YOLO

# COCO 데이터 셋으로 사전 학습 된 모델이 다운로드 되고 로드 됨
model = YOLO("runs/detect/train/weights/best.pt")

results = model.val()  # It'll automatically evaluate the data you trained.

print(results)
runs/detect/val- 평가 결과 이미지
훈련된 모델로 예측
모델을 로딩 할 때 훈련된 모델을 사용합니다. 나머지는 위의 예측과 동일합니다.
# ...
model = YOLO("runs/train/weights/best.pt")
# ...
해시태그: #딥러닝 #실습 #MNIST #CNN #손글씨-숫자 #숫자-인식 #텐서플로우 #케라스 #파이토치 #YOLO #객체인식 #훈련 #평가
댓글남기기