FastAPI - 18 (보안4 - QAuth2, Bearer, JWT - 클라이언트 구성 )
인증서버와 인증을 요청하는 클라이언트를 각각 구성하여 실전처럼 적용해 보겠습니다.
환경 구성
인증 서버 설정
인증 서버 코드 작성(main.py): 사용자 인증과 JWT 토큰 발급을 처리하는 FastAPI 애플리케이션을 작성합니다. 이 서버는 로그인 엔드포인트(/token)를 제공하고 유효한 자격 증명을 가진 사용자에게 JWT 토큰을 발급합니다.
인증 서버 실행: 인증 서버를 8000 포트에서 실행합니다.
uvicorn uvicorn main:app --reload --port 8000
클라이언트 서버 설정
클라이언트 서버 코드 작성(main_client.py): 인증 서버와 다른 FastAPI 애플리케이션을 작성하여 클라이언트 서버로 사용합니다. 이 서버는 인증이 필요한 엔드포인트를 제공하며, 요청의 Authorization 헤더에서 JWT 토큰을 확인합니다.
클라이언트 서버 실행: 클라이언트 서버를 인증 서버와 다른 포트(8001)에서 실행합니다.
uvicorn uvicorn main_client:app --reload --port 8001
인증 서버
이전의 코드(FastAPI - 17 (보안3 - JWT))과 동일하게 작성합니다.
인증서버 main.py
from datetime import datetime, timedelta
from typing import Union

from fastapi import Depends, FastAPI, HTTPException, status
from fastapi.security import OAuth2PasswordBearer, OAuth2PasswordRequestForm
from jose import JWTError, jwt
from passlib.context import CryptContext
from pydantic import BaseModel
from typing_extensions import Annotated

SECRET_KEY = "09d25e094faa6ca2556c818166b7a9563b93f7099f6f0f4caa6cf63b88e8d3e7"
ALGORITHM = "HS256"
ACCESS_TOKEN_EXPIRE_MINUTES = 30


fake_users_db = {
    "johndoe": {
        "username": "johndoe",
        "full_name": "John Doe",
        "email": "johndoe@example.com",
        "hashed_password": "$2b$12$EixZaYVK1fsbw1ZfbX3OXePaWxn96p36WQoeG6Lruj3vjPGga31lW",
        "disabled": False,
    }
}


class Token(BaseModel):
    access_token: str
    token_type: str


class TokenData(BaseModel):
    username: Union[str, None] = None


class User(BaseModel):
    username: str
    email: Union[str, None] = None
    full_name: Union[str, None] = None
    disabled: Union[bool, None] = None


class UserInDB(User):
    hashed_password: str


pwd_context = CryptContext(schemes=["bcrypt"], deprecated="auto")

oauth2_scheme = OAuth2PasswordBearer(tokenUrl="token")

app = FastAPI()


def verify_password(plain_password, hashed_password):
    return pwd_context.verify(plain_password, hashed_password)


def get_password_hash(password):
    return pwd_context.hash(password)


def get_user(db, username: str):
    if username in db:
        user_dict = db[username]
        return UserInDB(**user_dict)


def authenticate_user(fake_db, username: str, password: str):
    user = get_user(fake_db, username)
    if not user:
        return False
    if not verify_password(password, user.hashed_password):
        return False
    return user


def create_access_token(data: dict, expires_delta: Union[timedelta, None] = None):
    to_encode = data.copy()
    if expires_delta:
        expire = datetime.utcnow() + expires_delta
    else:
        expire = datetime.utcnow() + timedelta(minutes=15)
    to_encode.update({"exp": expire})
    encoded_jwt = jwt.encode(to_encode, SECRET_KEY, algorithm=ALGORITHM)
    return encoded_jwt


async def get_current_user(token: Annotated[str, Depends(oauth2_scheme)]):
    # credentials_exception 변수를 사용하여 예외 처리 설정
    credentials_exception = HTTPException(
        status_code=status.HTTP_401_UNAUTHORIZED,
        detail="Could not validate credentials",
        headers={"WWW-Authenticate": "Bearer"},
    )
    try:
        payload = jwt.decode(token, SECRET_KEY, algorithms=[ALGORITHM])
        username: str = payload.get("sub")
        if username is None:
            raise credentials_exception
        token_data = TokenData(username=username)
    except JWTError:
        raise credentials_exception
    user = get_user(fake_users_db, username=token_data.username)
    if user is None:
        raise credentials_exception
    return user


async def get_current_active_user(
    current_user: Annotated[User, Depends(get_current_user)]
):
    if current_user.disabled:
        raise HTTPException(status_code=400, detail="Inactive user")
    return current_user


@app.post("/token", response_model=Token)
async def login_for_access_token(
    form_data: Annotated[OAuth2PasswordRequestForm, Depends()]
):
    user = authenticate_user(fake_users_db, form_data.username, form_data.password)
    if not user:
        raise HTTPException(
            status_code=status.HTTP_401_UNAUTHORIZED,
            detail="Incorrect username or password",
            headers={"WWW-Authenticate": "Bearer"},
        )
    access_token_expires = timedelta(minutes=ACCESS_TOKEN_EXPIRE_MINUTES)
    access_token = create_access_token(
        data={"sub": user.username}, expires_delta=access_token_expires
    )
    return {"access_token": access_token, "token_type": "bearer"}


@app.get("/users/me/", response_model=User)
async def read_users_me(
    current_user: Annotated[User, Depends(get_current_active_user)]
):
    return current_user


@app.get("/users/me/items/")
async def read_own_items(
    current_user: Annotated[User, Depends(get_current_active_user)]
):
    return [{"item_id": "Foo", "owner": current_user.username}]
인증서버 실행
uvicorn main:app --reload --port 8000
위의 명령어를 실행하고 아래의 URL로 접속하여 docs를 확인합니다.
http://localhost:8000/docs
아래의 화면이 출력됩니다.
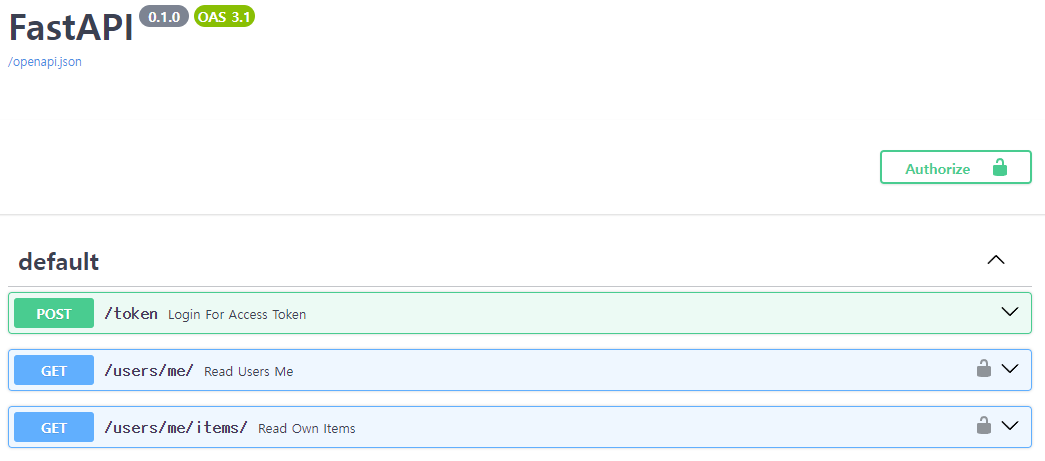
api를 테스트 해 보셔도 좋습니다.
클라이언트 서버
클라이언트 서버 main_client.py
from fastapi import FastAPI, Form, HTTPException, Request, Response
from fastapi.responses import HTMLResponse
import httpx

app = FastAPI()

# 인증 서버의 URL
AUTH_SERVER_URL = "http://localhost:8000"

# HTML 로그인 폼
html_login_form = """
<!DOCTYPE html>
<html>
<head>
    <title>Login</title>
</head>
<body>
    <form action="/get-token" method="post">
        <input type="text" name="username" placeholder="Username">
        <input type="password" name="password" placeholder="Password">
        <input type="submit" value="Login">
    </form>
</body>
</html>
"""

# HTML 메인 페이지
html_main_page = """
<!DOCTYPE html>
<html>
<head>
    <title>Main Page</title>
</head>
<body>

</body>
</html>
"""

# 로그인 폼을 반환하는 엔드포인트
@app.get("/", response_class=HTMLResponse)
async def get_login_form():
    return html_login_form

# 로그인을 처리하는 엔드포인트
@app.post("/get-token", response_class=HTMLResponse)
async def login_and_get_token(username: str = Form(...), password: str = Form(...)):
    url = f"{AUTH_SERVER_URL}/token"
    form_data = {
        "username": username,
        "password": password,
    }
    async with httpx.AsyncClient() as client:
        response = await client.post(url, data=form_data)

        if response.status_code != 200:
            raise HTTPException(status_code=response.status_code, detail="Login failed")

        # JWT 토큰을 쿠키에 저장
        response_data = response.json()
        token = response_data["access_token"]
        content = f'<p>Logged in as {username}</p>' + html_main_page
        return Response(content=content, media_type="text/html", headers={"Set-Cookie": f"jwt_token={token}"})

# 사용자 정보를 가져오는 엔드포인트
@app.get("/test-users-me", response_class=HTMLResponse)
async def test_users_me(request: Request):
    # 쿠키에서 JWT 토큰을 가져옴
    token = request.cookies.get("jwt_token")
    if not token:
        raise HTTPException(status_code=401, detail="No access token available")

    # 인증 서버의 /users/me/ 엔드포인트에 GET 요청을 보냄
    url = f"{AUTH_SERVER_URL}/users/me/"
    # Authorization 헤더에 Bearer 토큰을 추가
    headers = {"Authorization": f"Bearer {token}"}
    async with httpx.AsyncClient() as client:
        response = await client.get(url, headers=headers)

        return Response(content=str(response.json()), media_type="text/html")

# 사용자 item 목록을 가져오는 엔드포인트
@app.get("/test-users-me-items", response_class=HTMLResponse)
async def test_users_me_items(request: Request):
    token = request.cookies.get("jwt_token")
    if not token:
        raise HTTPException(status_code=401, detail="No access token available")

    url = f"{AUTH_SERVER_URL}/users/me/items/"
    headers = {"Authorization": f"Bearer {token}"}
    async with httpx.AsyncClient() as client:
        response = await client.get(url, headers=headers)

        return Response(content=str(response.json()), media_type="text/html")
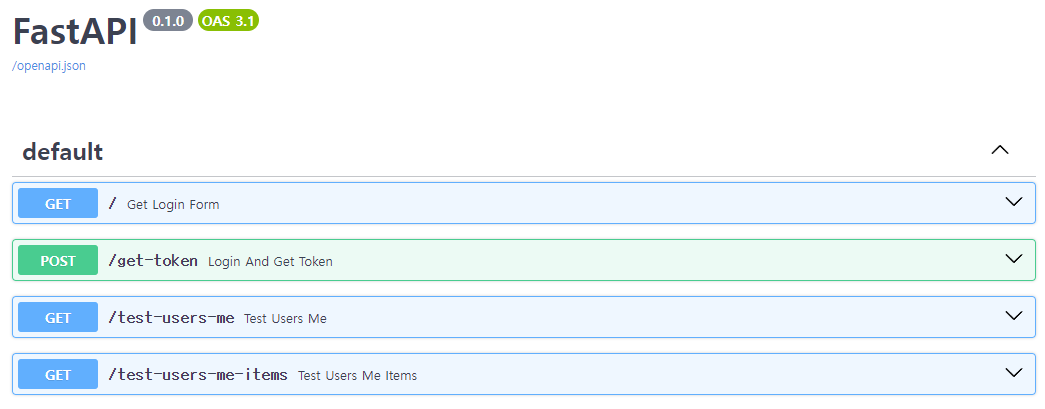
클라이언트 서버 실행
uvicorn main_client:app --reload --port 8001
위의 명령어를 실행하고 아래의 URL로 접속하여 docs를 확인합니다.
http://localhost:8001/docs
아래의 화면이 출력됩니다.
테스트
로그인
아래의 URL로 접속하여 로그인을 합니다.
http://localhost:8001
아래의 화면이 출력되면 johndoe, secret을 입력합니다.

Login 버튼을 클릭하면 로그인이 완료되고 아래의 화면이 출력됩니다.

로그인이 완료되었고 jwt_token이 쿠키에 저장되었습니다.
사용자 정보 가져오기
사용자 정보를 가져오기 위해 아래의 URL로 접속합니다.
http://localhost:8001/test-users-me
아래의 화면이 출력됩니다.
사용자 item 목록 가져오기
사용자 item 목록정보를 가져오기 위해 아래의 URL로 접속합니다.
http://localhost:8001/test-users-me-items
아래의 화면이 출력됩니다.

해시태그: #fastapi #uvicorn #OAuth2 #Bearer #JWT #인증서버 #클라이언트
댓글남기기